Installing Navify
Navify apps are created and developed primarily through the Navify command-line utility. The Navify CLI is the preferred method of installation, as it offers a wide range of dev tools and help options along the way. It is also the main tool through which to run the app and connect it to other services, such as Appflow.
Install the Navify CLI
Before proceeding, make sure your computer has Node.js installed. See these instructions to set up an environment for Navify.
Install the Navify CLI with npm:
npm install -g @navify/cli
If there was a previous installation of the Navify CLI, it will need to be uninstalled due to a change in package name.
$ npm uninstall -g navify
$ npm install -g @navify/cli
note
The -g option means install globally. When packages are installed globally, EACCES permission errors can occur.
Consider setting up npm to operate globally without elevated permissions. See Resolving Permission Errors for more information.
Start an App
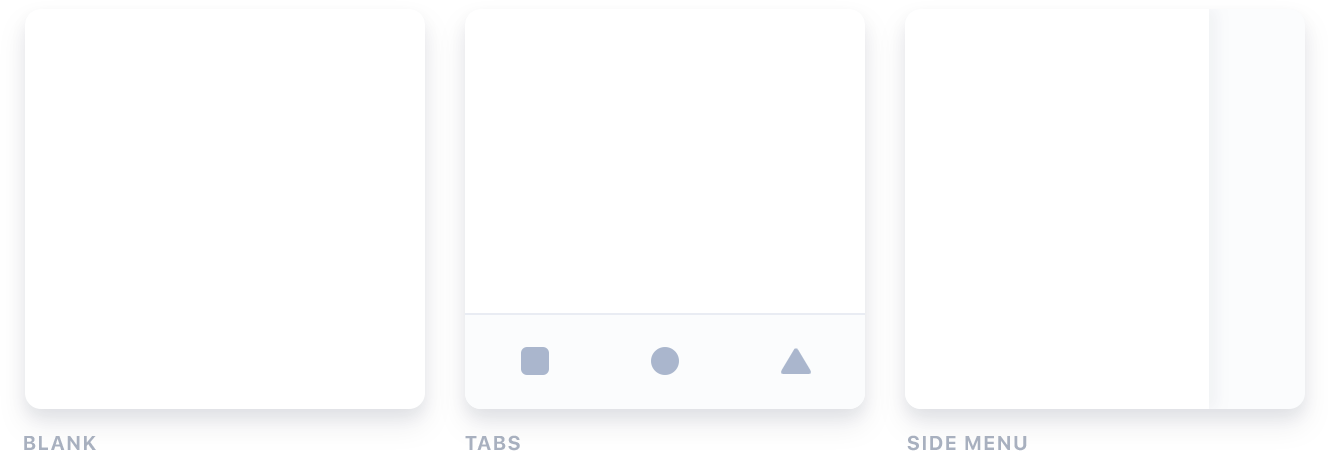
Create an Navify app using one of the pre-made app templates, or a blank one to start fresh. The three most common starters are the blank starter, tabs starter, and sidemenu starter. Get started with the navify start command:
navify start
To learn more about starting Navify apps, see the Starting Guide.
Run the App
The majority of Navify app development can be spent right in the browser using the navify serve command:
$ cd myApp
$ navify serve
There are a number of other ways to run an app, it's recommended to start with this workflow. To develop and test apps on devices and emulators, see the Running an App Guide.