Android Play Store Deployment
If you are using Jigra, you can additionally refer to the Jigra documentation for Deploying to Google Play.
Generating a release build of an app
- Jigra
- Cordova
npx jig copy && npx jig sync
This will copy all web assets and sync any plugin changes.
Next, open Android studio:
npx jig open android
navify cordova build android --prod --release
This will generate a release build based on the settings in the config.xml in the platforms/android/app/build/outputs/apk directory of an app.
A Navify app will have preset default values in this file but this can be changed to customize builds.
Signing an APK
- Jigra
- Cordova
- Open the Build menu
- Choose Generate Signed Bundle / APK
- Follow the prompts to sign the AAB with your keystore file
For complete details, view the Android documentation.
Google Play Signing
If you haven't made the switch to Android app bundles yet, you will need to opt into Play App Signing in the Google Play Console to be able to publish them.
New Apps
First, create a new app in the Google Play Console. In order to enable app signing, you'll need to navigate to the new release screen, on one of the Production, Open testing, closed testing, or internal testing pages. Select the Create new release button as seen below (it doesn't matter which release type, since you don't have to actually go through with creating a new release right now):
Under the App integrity section, click the Change app signing key button:
Next, select the Export and upload a key from Java Keystore option. This is the only way in which you can retain the key and have Google Play use it for signing.
Existing Apps
As of now, existing apps aren't required to use the AAB format, but you can still enroll them using Play App signing.
To opt into app signing, you'll need to upload the app signing key used to sign previous releases of the app. Navigate to Setup -> App integrity, then choose one of the two methods seen in the screenshot below. Once the key has been uploaded, you can enroll in Play App Signing.
tip
With smaller app sizes, improved performance, and enhanced security, the AAB binary format is a win for app developers and users alike. If you have an existing Android app using the APK format, consider migrating to AAB to take advantage of all the great features it provides.
keytool -genkey -v -keystore my-release-key.keystore -alias alias_name -keyalg RSA -keysize 2048 -validity 10000
Once that command has been ran and its prompts have been answered a file called my-release-key.keystore will be created in the current directory.
caution
Save this file and keep it somewhere safe. If it is lost the Google Play Store will not accept updates for this app!
To sign the unsigned APK, run the jarsigner tool which is also included in the Android SDK:
jarsigner -verbose -sigalg SHA1withRSA -digestalg SHA1 -keystore my-release-key.keystore HelloWorld-release-unsigned.apk alias_name
Finally, the zip align tool must be ran to optimize the APK.
The zipalign tool can be found in /path/to/Android/sdk/build-tools/VERSION/zipalign.
For example, on macOS with Android Studio installed, zipalign is in ~/Library/Android/sdk/build-tools/VERSION/zipalign:
zipalign -v 4 HelloWorld-release-unsigned.apk HelloWorld.apk
This generates a final release binary called HelloWorld.apk that can be accepted into the Google Play Store.
Submitting an app to the Google Play Store
Now that a release AAB/APK has been generated, a Play Store listing can be written and the AAB/APK can be uploaded.
To start, visit the Google Play Store Developer Console and create a new developer account.
note
Making a developer account with Google Play costs $25 USD.
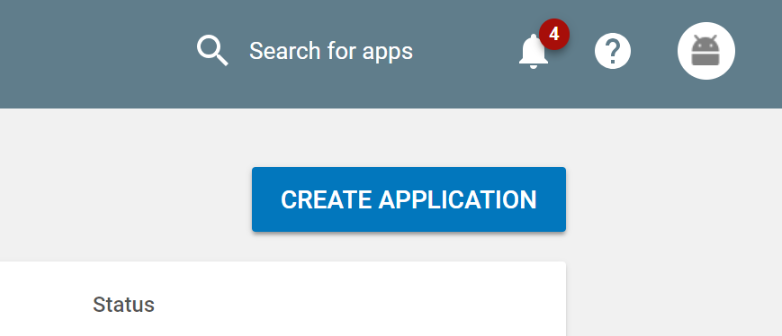
Once a developer account has been created, go ahead and click the Create an Application
Be sure to fill out the description for the app along with providing screenshots and additional info. When ready, upload the signed release AAB/APK that was generated and publish the app.