iOS Development
This guide covers how to run and debug Navify apps on iOS simulators and devices using Jigra or Cordova. iOS apps can only be developed on macOS with Xcode installed.
There are two workflows for running Navify apps on iOS:
The Xcode approach is generally more stable, but the Navify CLI approach offers live-reload functionality.
Xcode Setup
Xcode is the IDE for creating native iOS apps. It includes the iOS SDK and Xcode command-line tools. Xcode can be downloaded for free with an Apple account or it can be installed through the App Store.
Once Xcode is installed, make sure the command-line tools are selected for use:
xcode-select --install
Setting up a Development Team
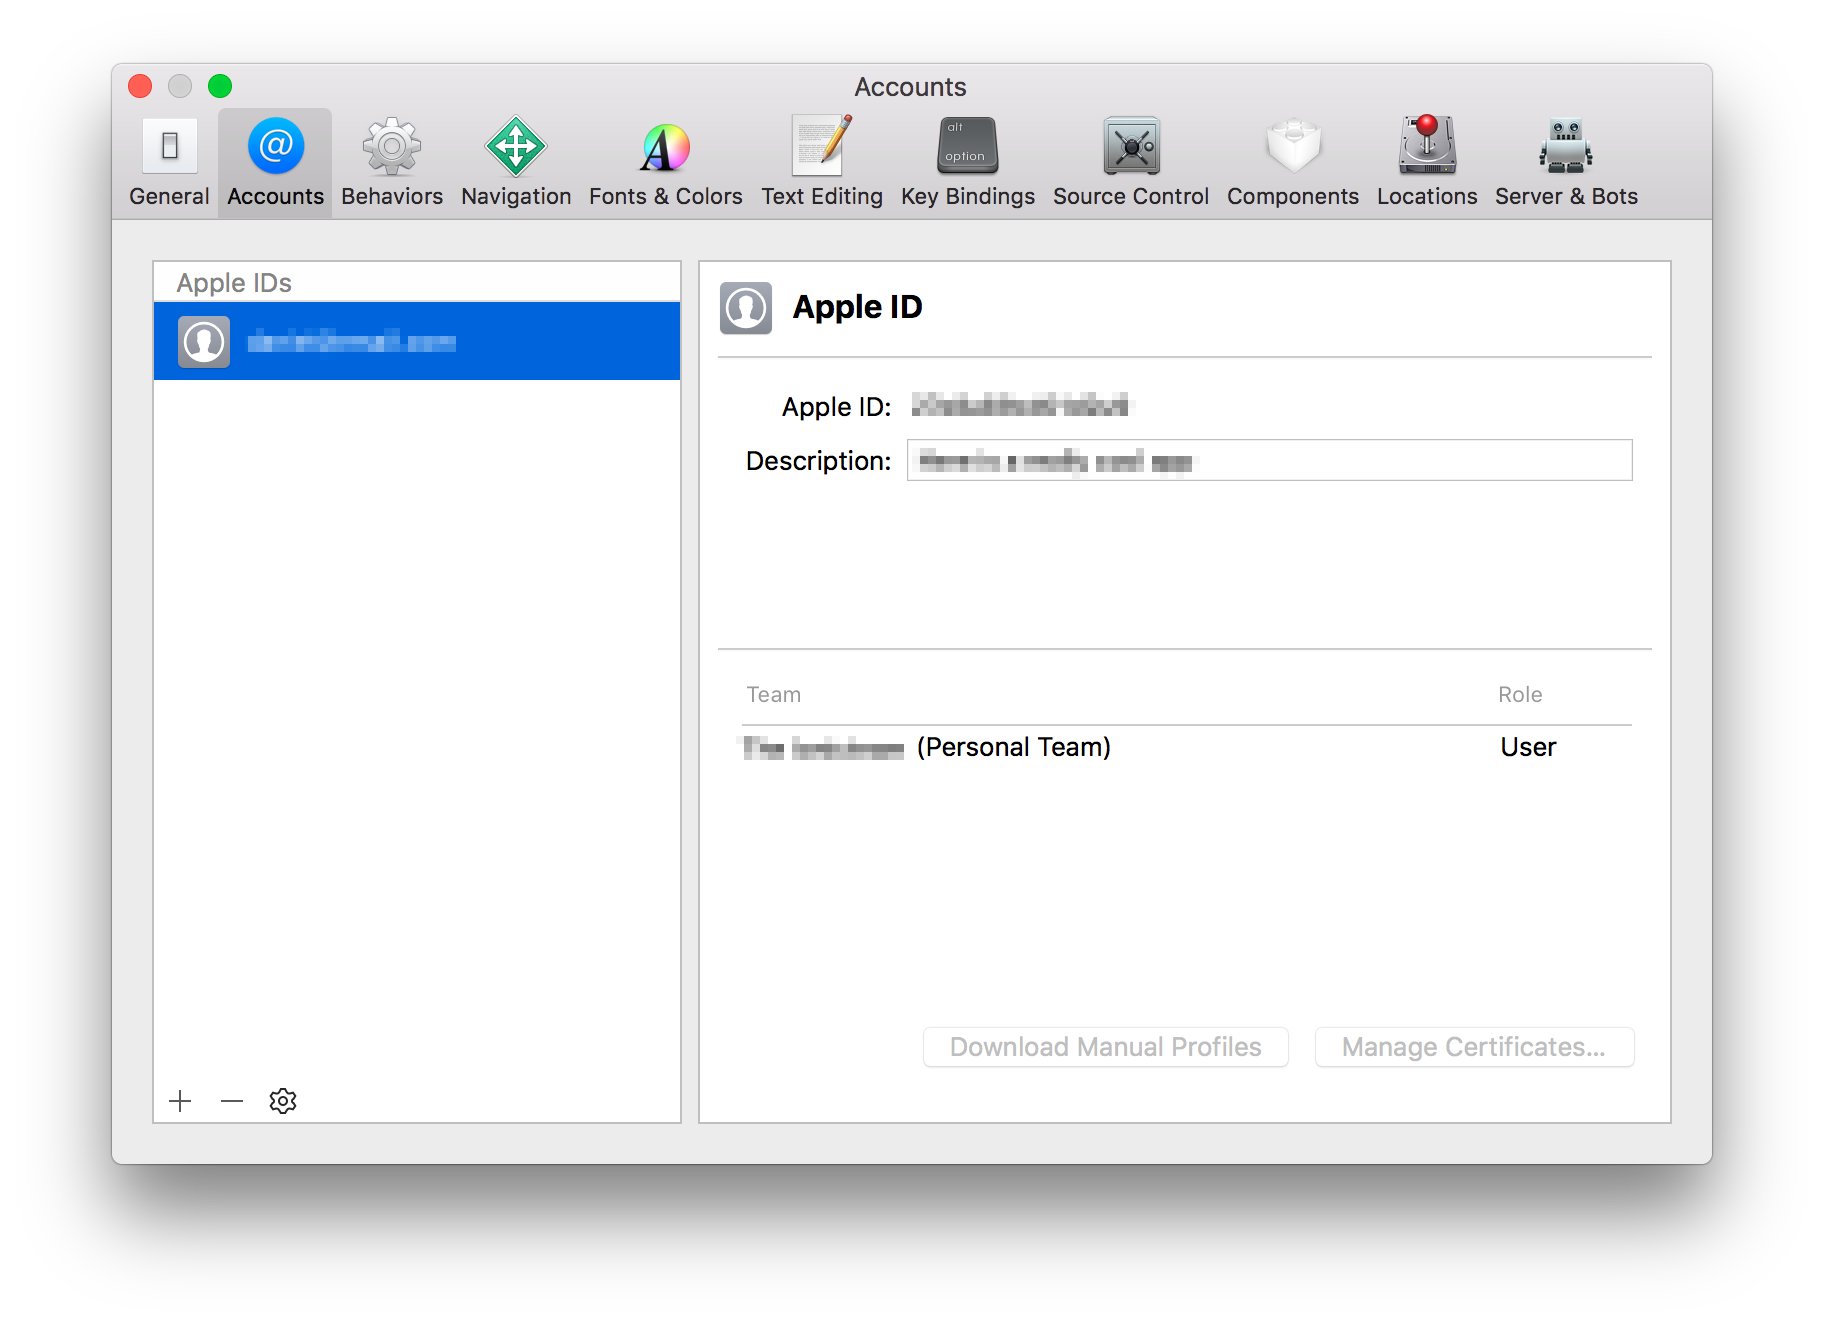
All iOS apps must be code signed, even for development. Luckily, Xcode makes this easy with automatic code signing. The only prerequisite is an Apple ID.
Open Xcode and navigate to Xcode » Preferences » Accounts. Add an Apple ID if none are listed. Once logged in, a Personal Team will appear in the team list of the Apple ID.
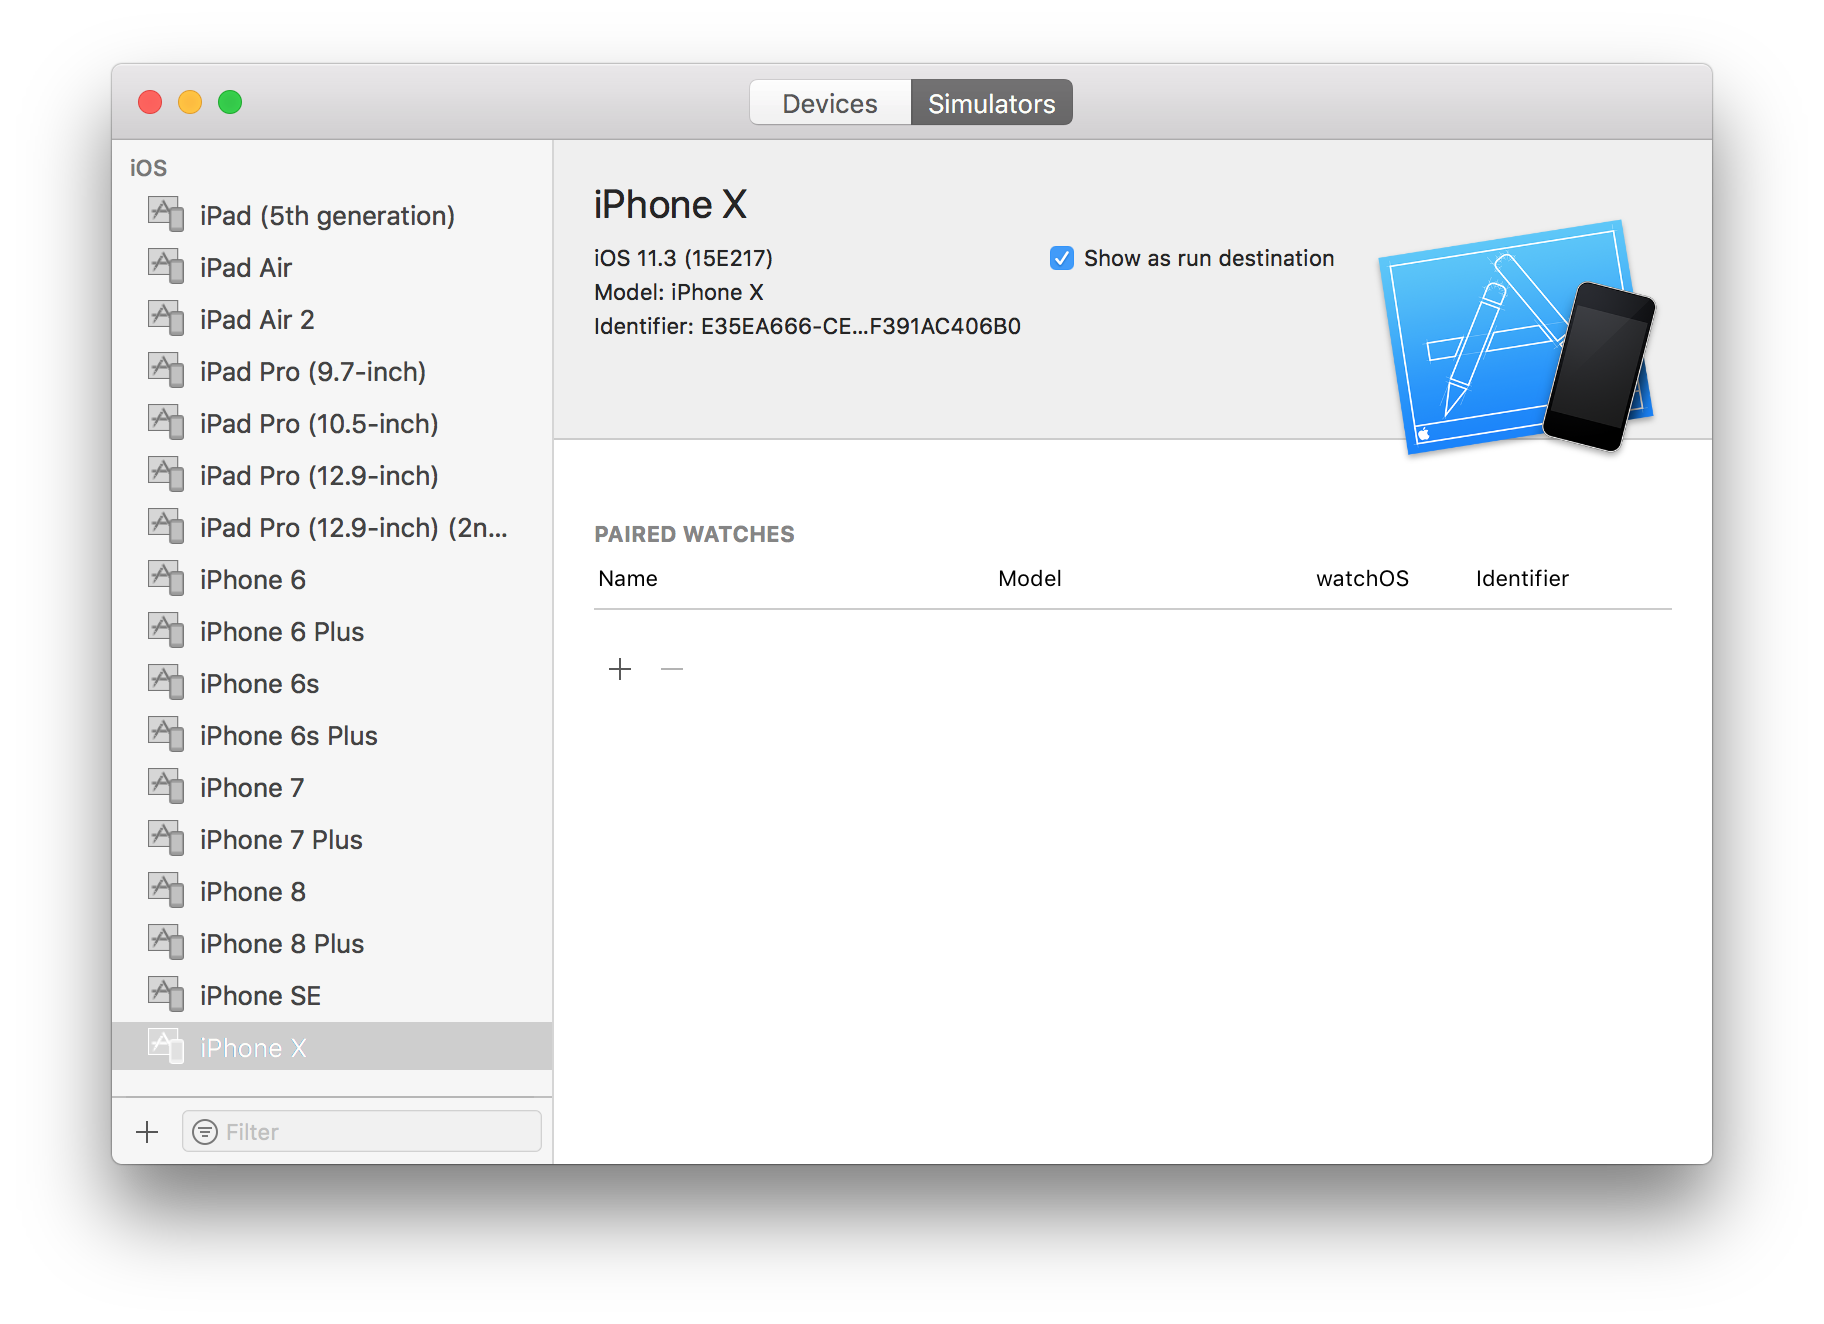
Creating an iOS Simulator
The iOS simulator emulates iOS devices on Macs. The following documentation is a quick way to get the iOS simulator set up. For more information, see Apple's documentation.
Open Xcode and navigate to Window » Devices and Simulators. Create an iPhone 11 simulator if one does not already exist.
Cordova Setup
Additional setup is required for Cordova to support programmatic builds. This section is not necessary for Jigra.
ios-sim & ios-deploy
The ios-sim and ios-deploy are utilities that deploy apps to the iOS simulator and iOS devices during development. They can be installed globally with npm.
$ npm install -g ios-sim
$ brew install ios-deploy
Project Setup
Before apps can be deployed to iOS simulators and devices, the native project must be configured.
Generate the native project, if it does not already exist.
For Jigra, run the following:
$ navify jigra add iosFor Cordova, run the following:
$ navify cordova prepare iosSet the Package ID.
For Jigra, open the
jigra.config.jsonfile and modify theappIdproperty.For Cordova, open the
config.xmlfile and modify theidattribute of the root element,<widget>. See the Cordova documentation for more information.Open the project in Xcode.
For Jigra, run the following to open the app in Xcode:
$ navify jigra open iosFor Cordova, open Xcode. Use File » Open and locate the app. Open the app's
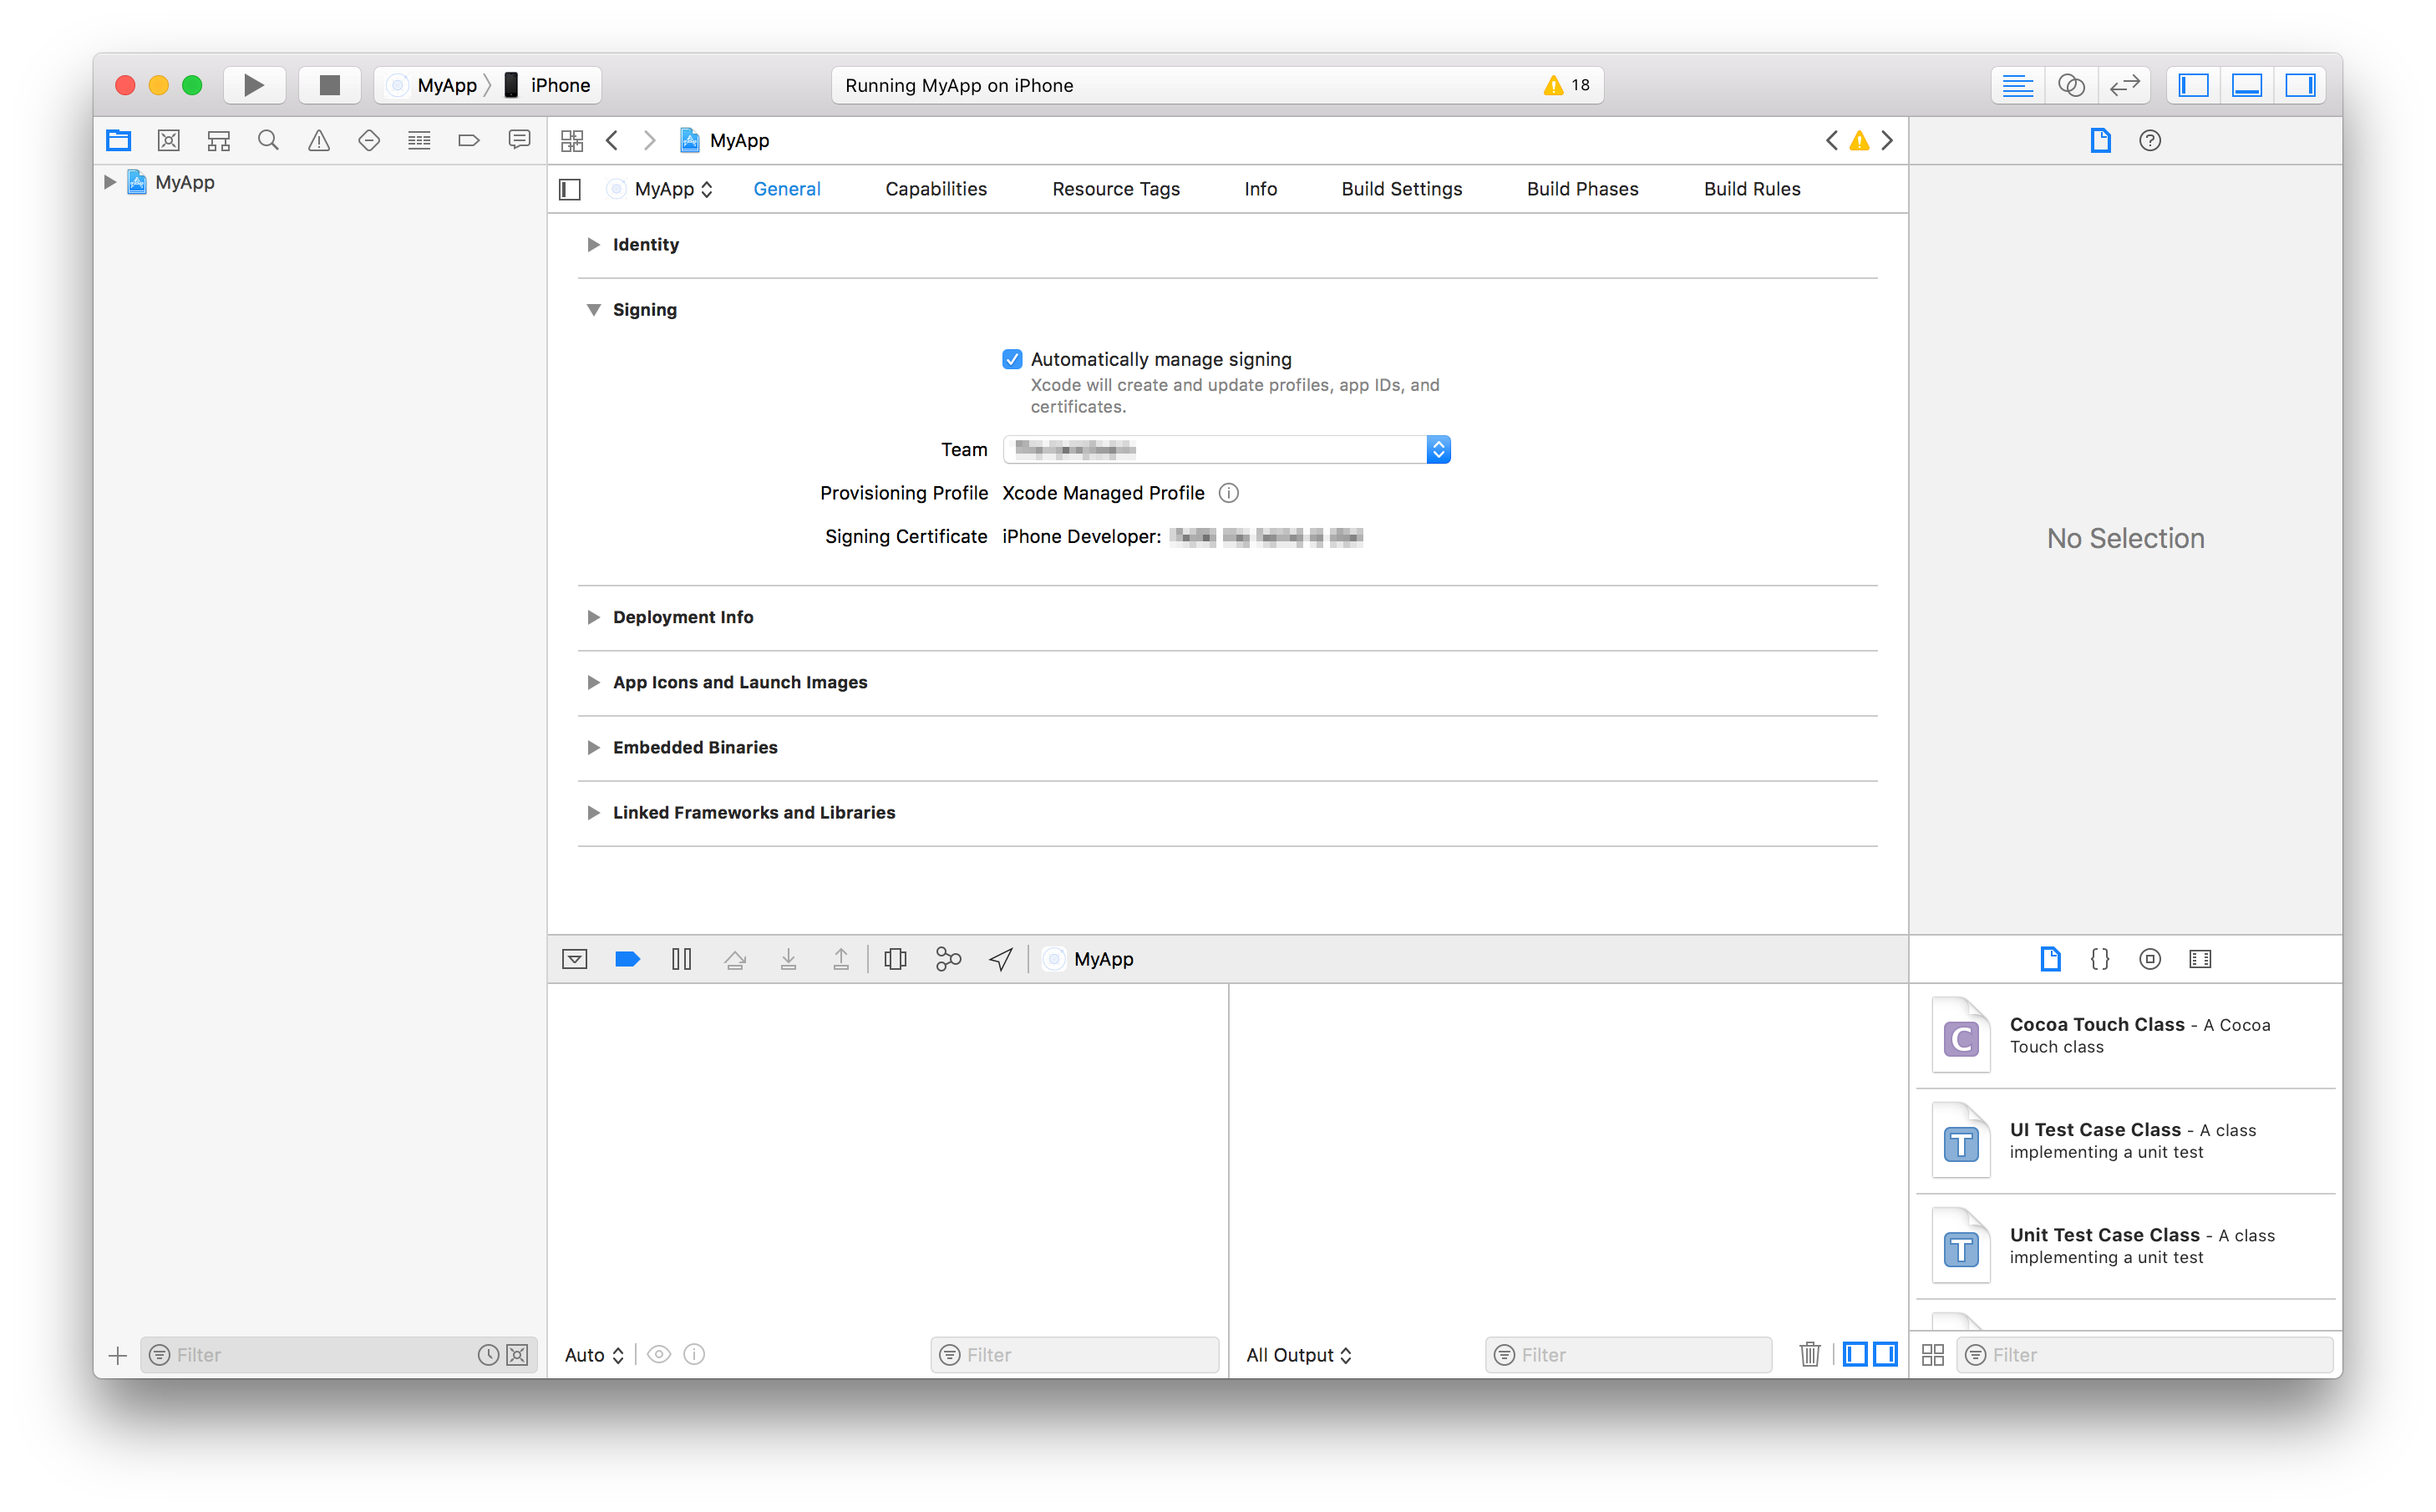
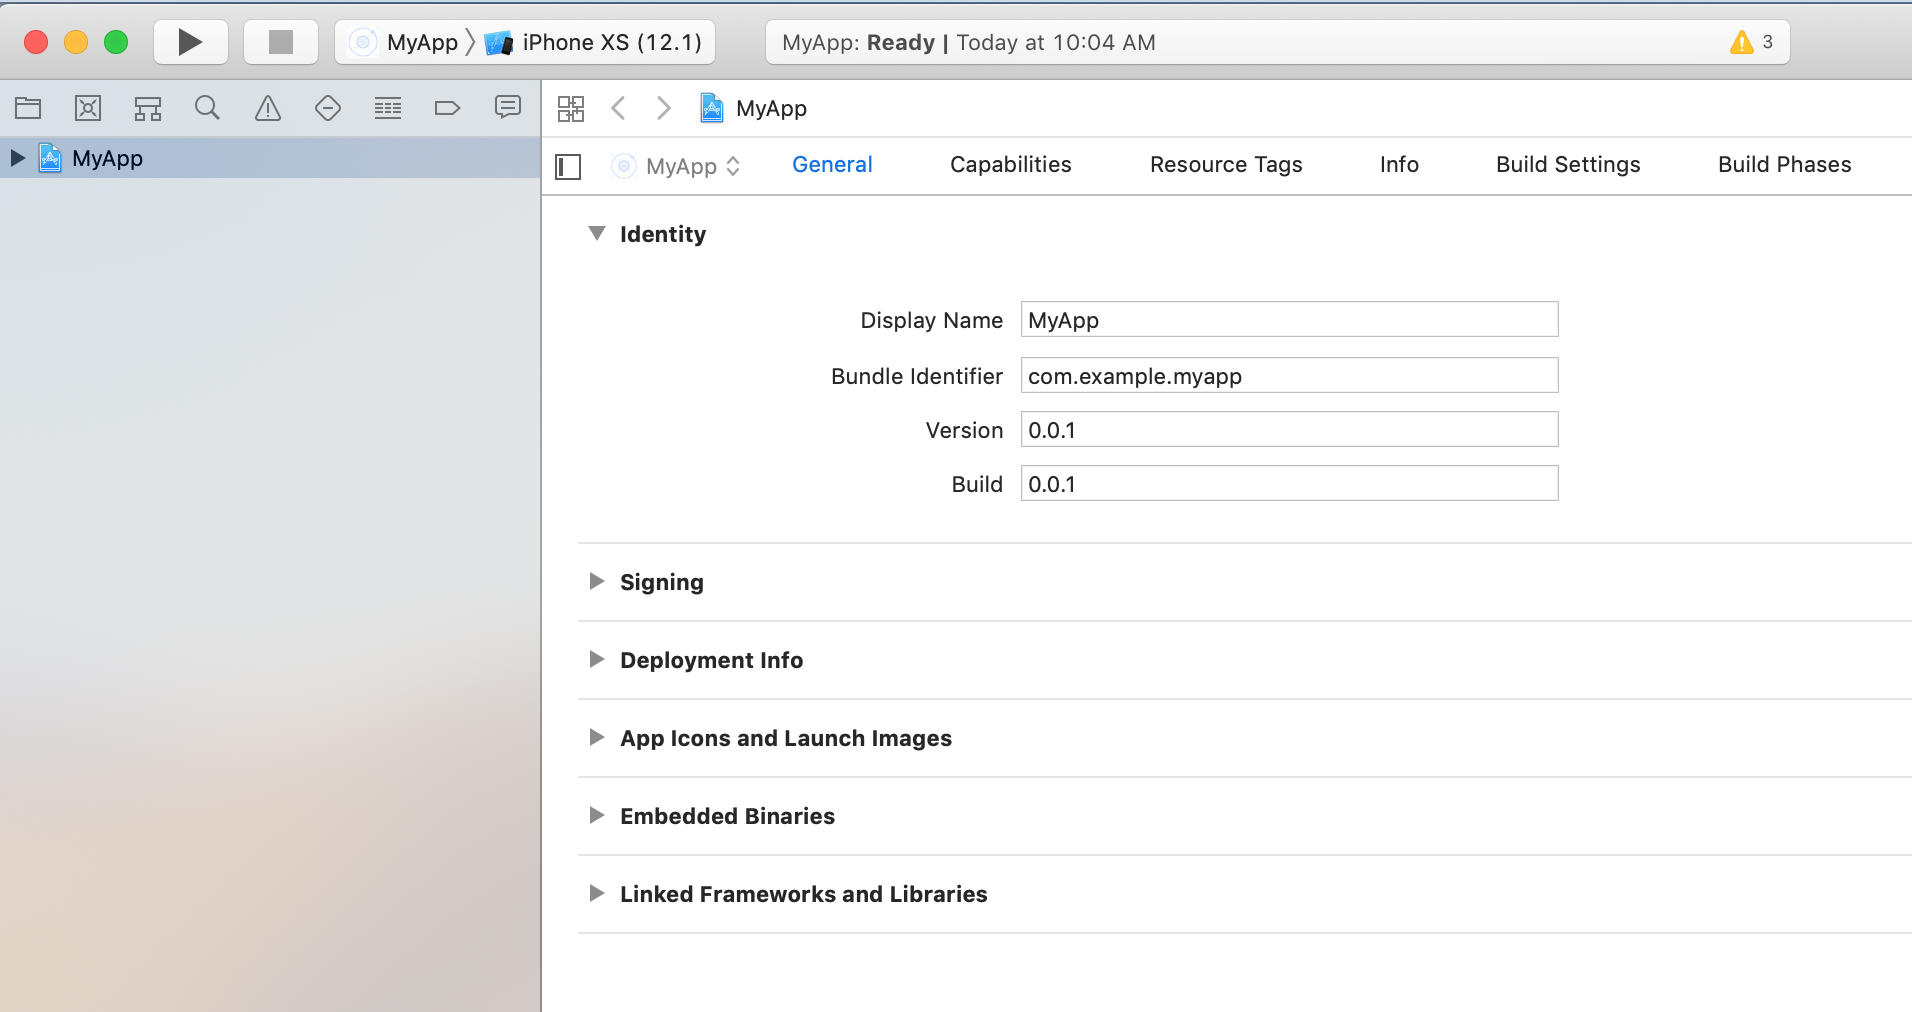
platforms/iosdirectory.In Project navigator, select the project root to open the project editor. Under the Identity section, verify that the Package ID that was set matches the Bundle Identifier.
In the same project editor, under the Signing section, ensure Automatically manage signing is enabled. Then, select a Development Team. Given a Development Team, Xcode will attempt to automatically prepare provisioning and signing.
Running with Xcode
In this workflow, Xcode can automatically fix common compilation and signing issues that can occur.
Develop the Navify app and sync it to the native project.
With each meaningful change, Navify apps must be built into web assets before the change can appear on iOS simulators and devices. The web assets then must be copied into the native project. Luckily, this process is made easy with a single Navify CLI command.
For Jigra, run the following:
$ navify jigra copy ios
$ navify jigra updateFor Cordova, run the following:
$ navify cordova prepare iosIn Xcode, select a target simulator or device and click the play button.
Running with the Navify CLI
The Navify CLI can build, copy, and deploy Navify apps to iOS simulators and devices with a single command. It can also spin up a development server, like the one used in navify serve, to provide live-reload functionality.
With live-reload, changes made to the app's source files trigger a rebuild of web assets and the changes are reflected on the simulator or device without having to deploy again.
caution
For iOS devices, the device and the computer need to be on the same Wi-Fi network. An external URL for the dev server is also required so the device can connect to it. Use --external (or --host=0.0.0.0) to bind to external addresses.
Live-reload with Jigra
Jigra does not yet have a way to build native projects. It relies on Xcode to build and deploy app binaries. However, the Navify CLI can boot up a live-reload server and configure Jigra to use it with a single command.
Run the following, then select a target simulator or device and click the play button in Xcode:
navify jigra run ios -l --external
Live-reload with Cordova
Cordova can build and deploy native projects programmatically.
To boot up a live-reload server, build, and deploy the app, run the following:
navify cordova run ios -l --external
Debugging iOS Apps
Once an app is running on an iOS device or simulator, it can be debugged in Safari.
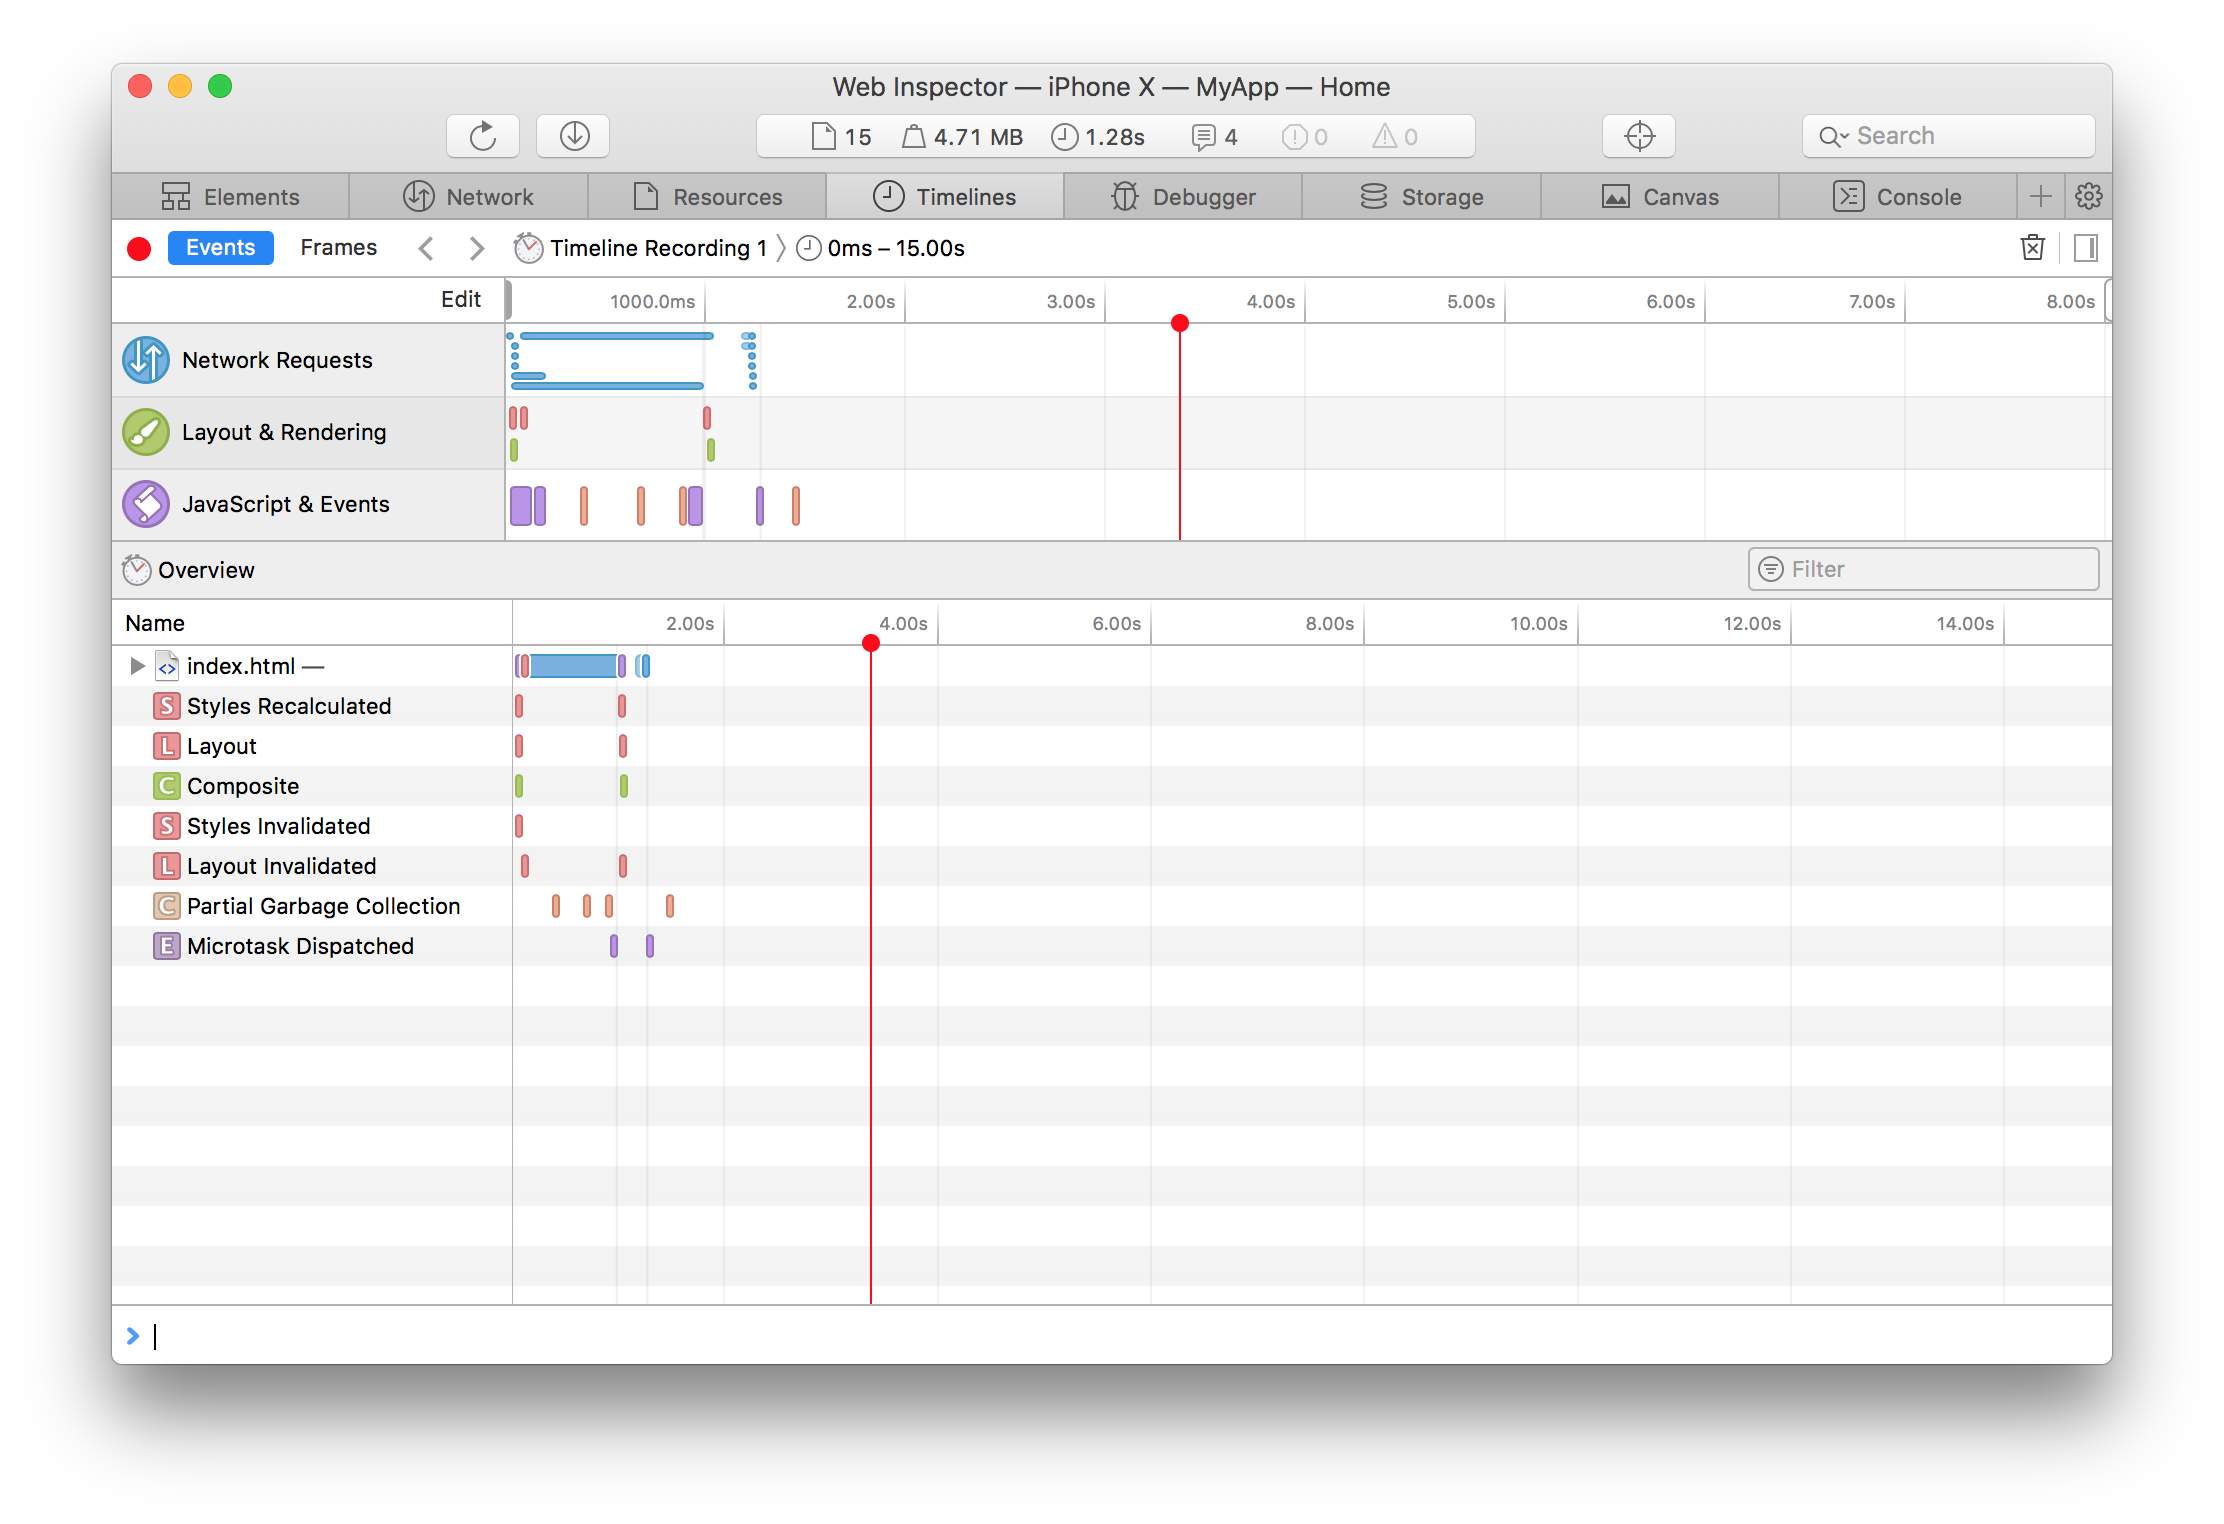
Using Safari Web Inspector
Safari has Web Inspector support for iOS simulators and devices. Open the Develop menu and select the simulator or device, then select the Navify App to open Web Inspector.
note
If the Develop menu is hidden, enable it in Safari » Preferences » Advanced » Show Develop menu in menu bar.
If the app isn't listed, the Web Inspector may need to be enabled on the device in Settings » Safari » Advanced » Web Inspector.
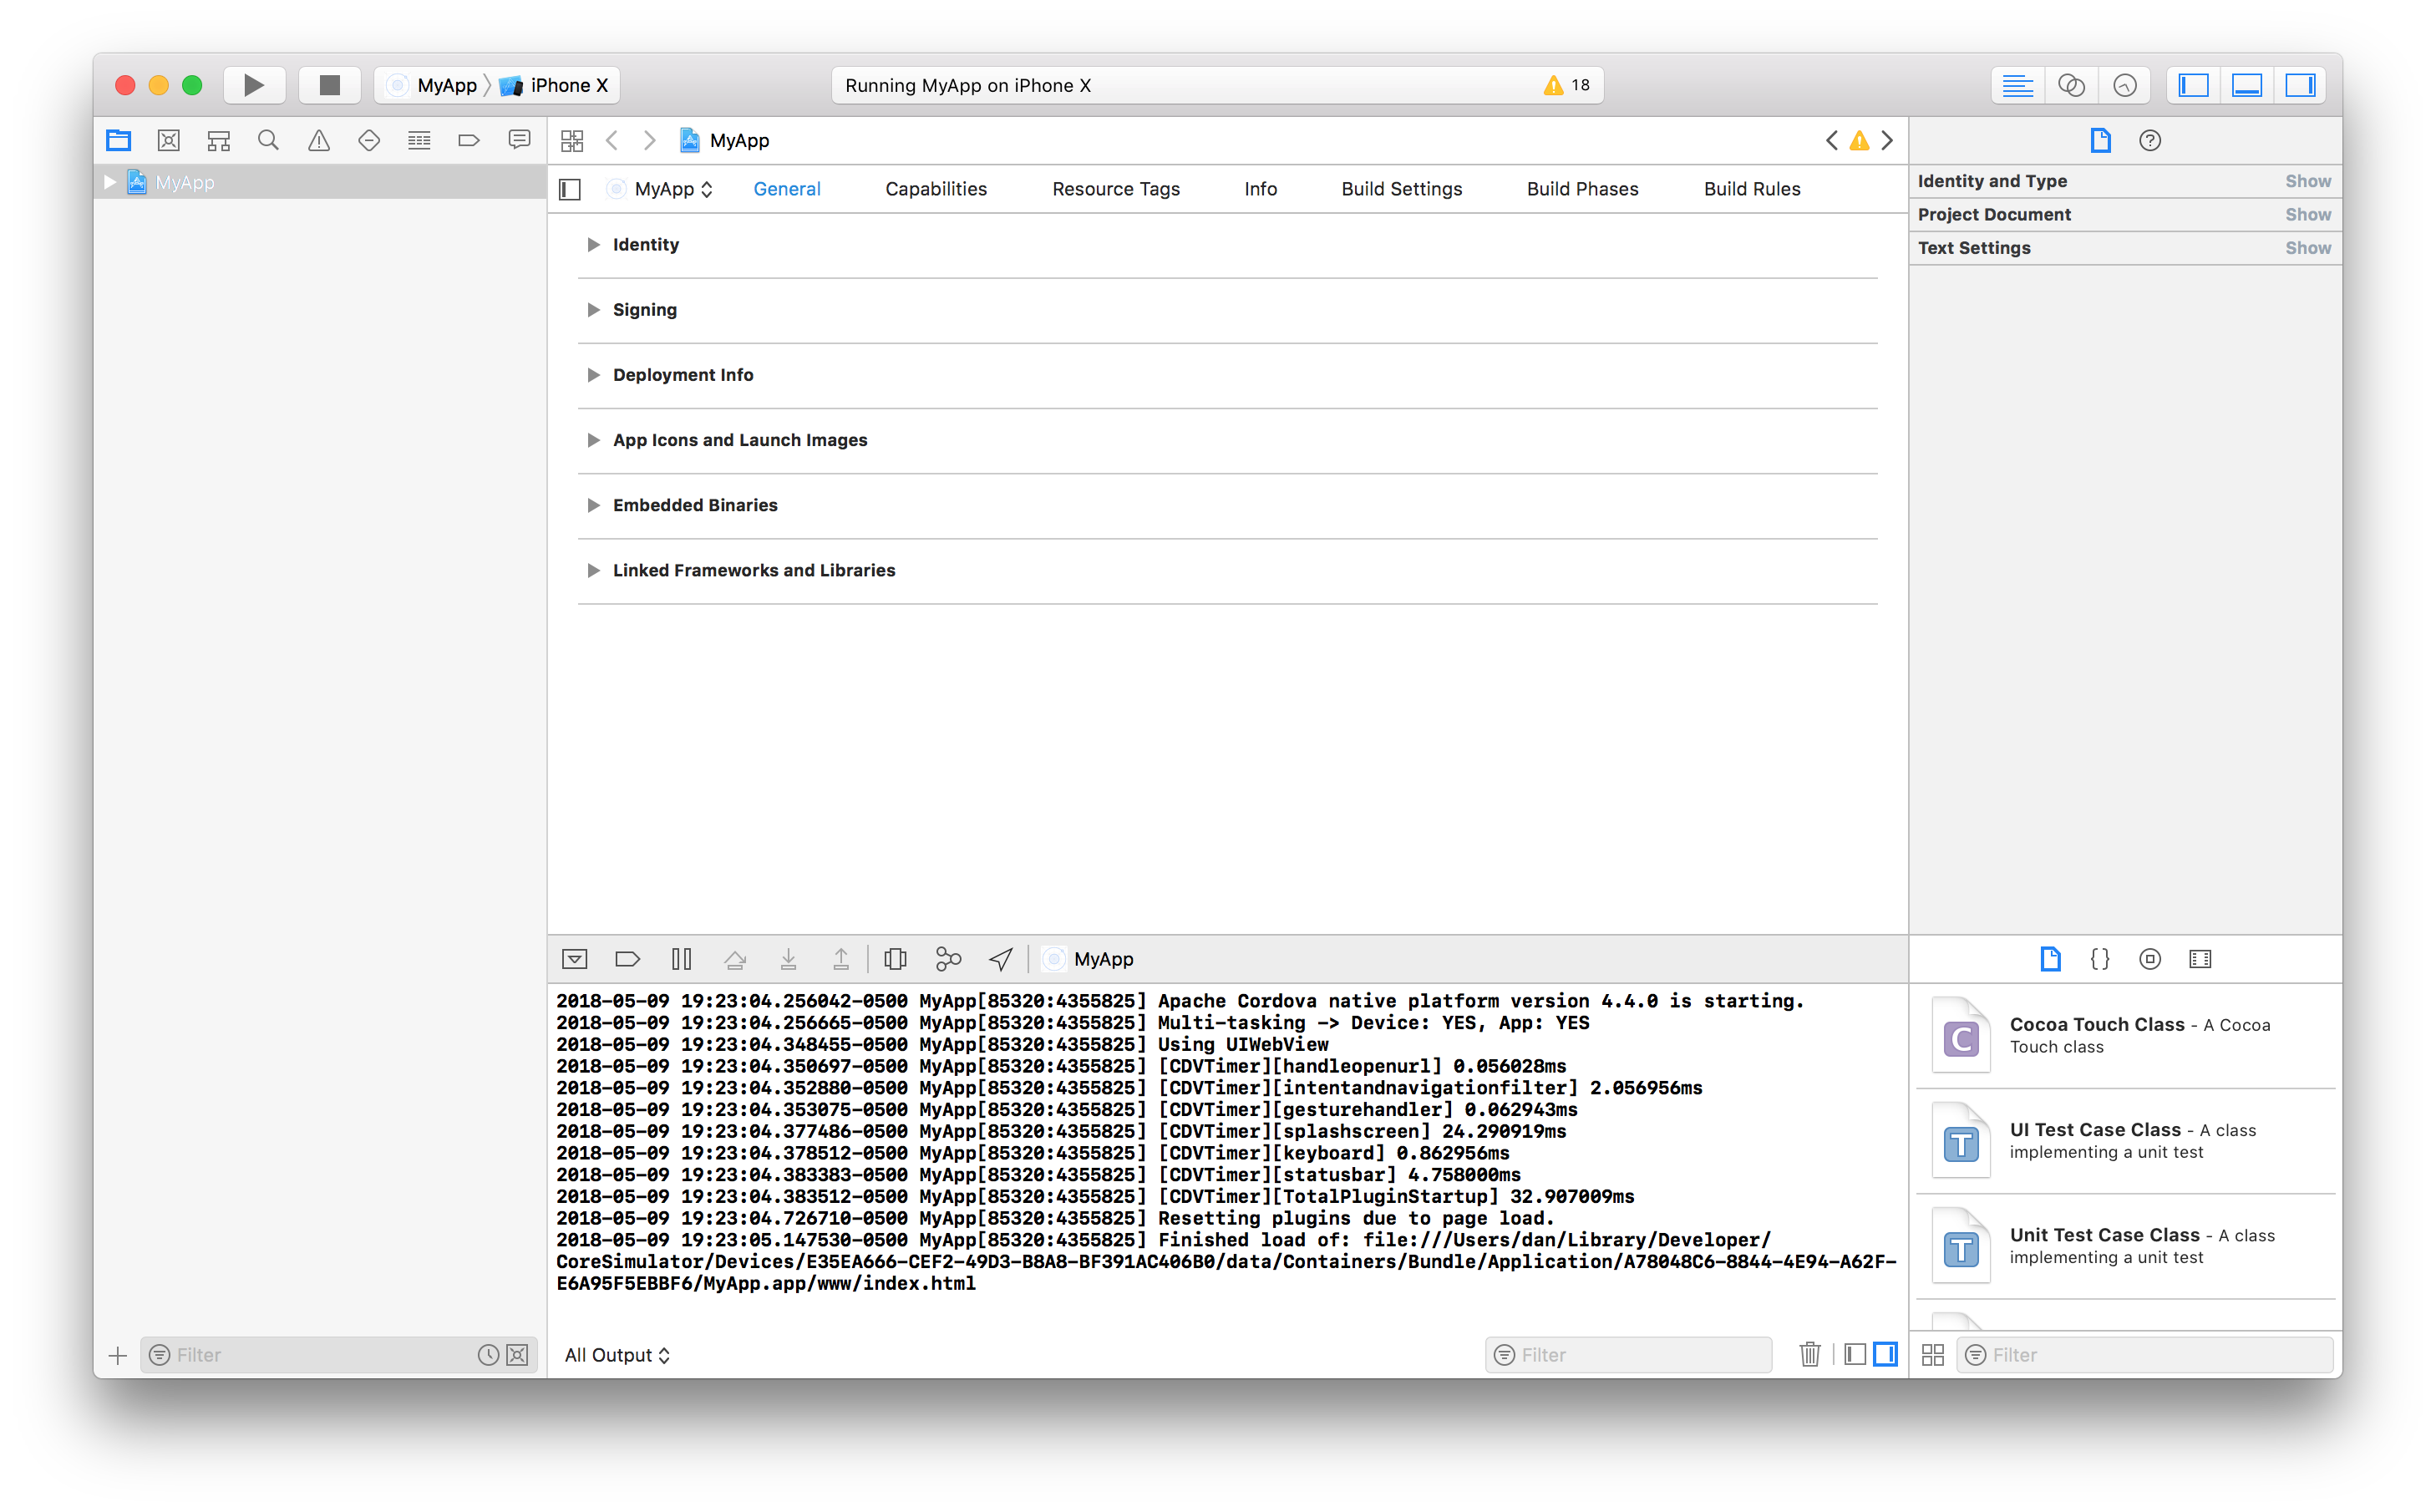
Viewing Native Logs
If running with Xcode, native logs can be found in the Xcode Console.
note
If the Console is hidden, enable it in View » Debug Area » Activate Console.